
DIY Tips: Installing Solar Panel Systems Safely and Efficiently


Understanding the Basics of Solar Panel Systems
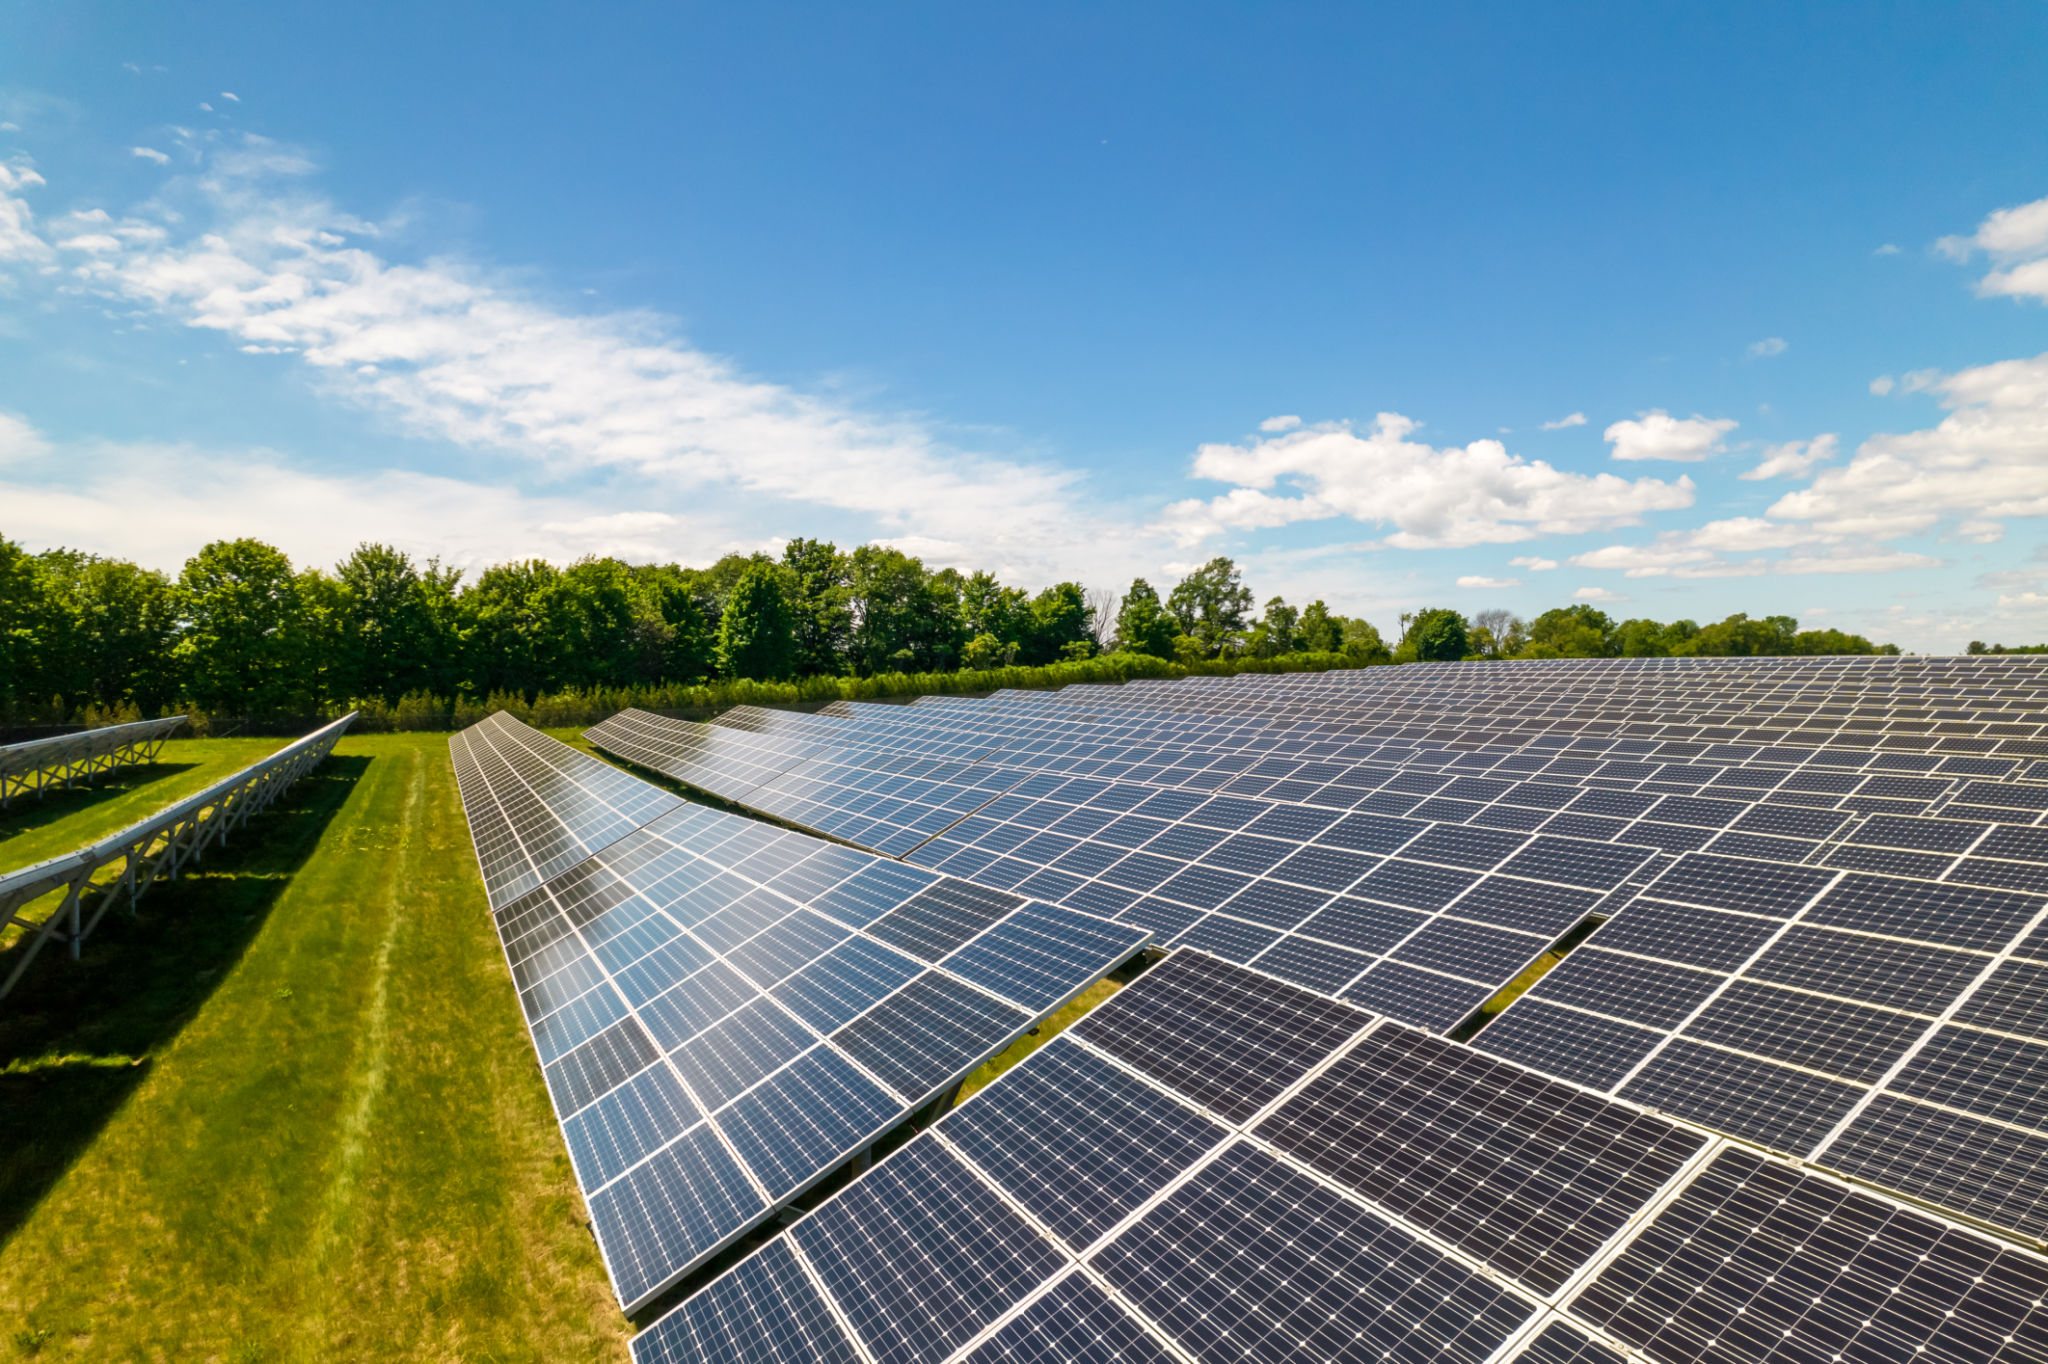
Installing solar panel systems at home is a fantastic way to reduce electricity bills and minimize your carbon footprint. As more households turn to renewable energy, understanding the basics of these systems becomes crucial for a successful DIY installation. Solar panels convert sunlight into electricity, which can then be used to power your home.
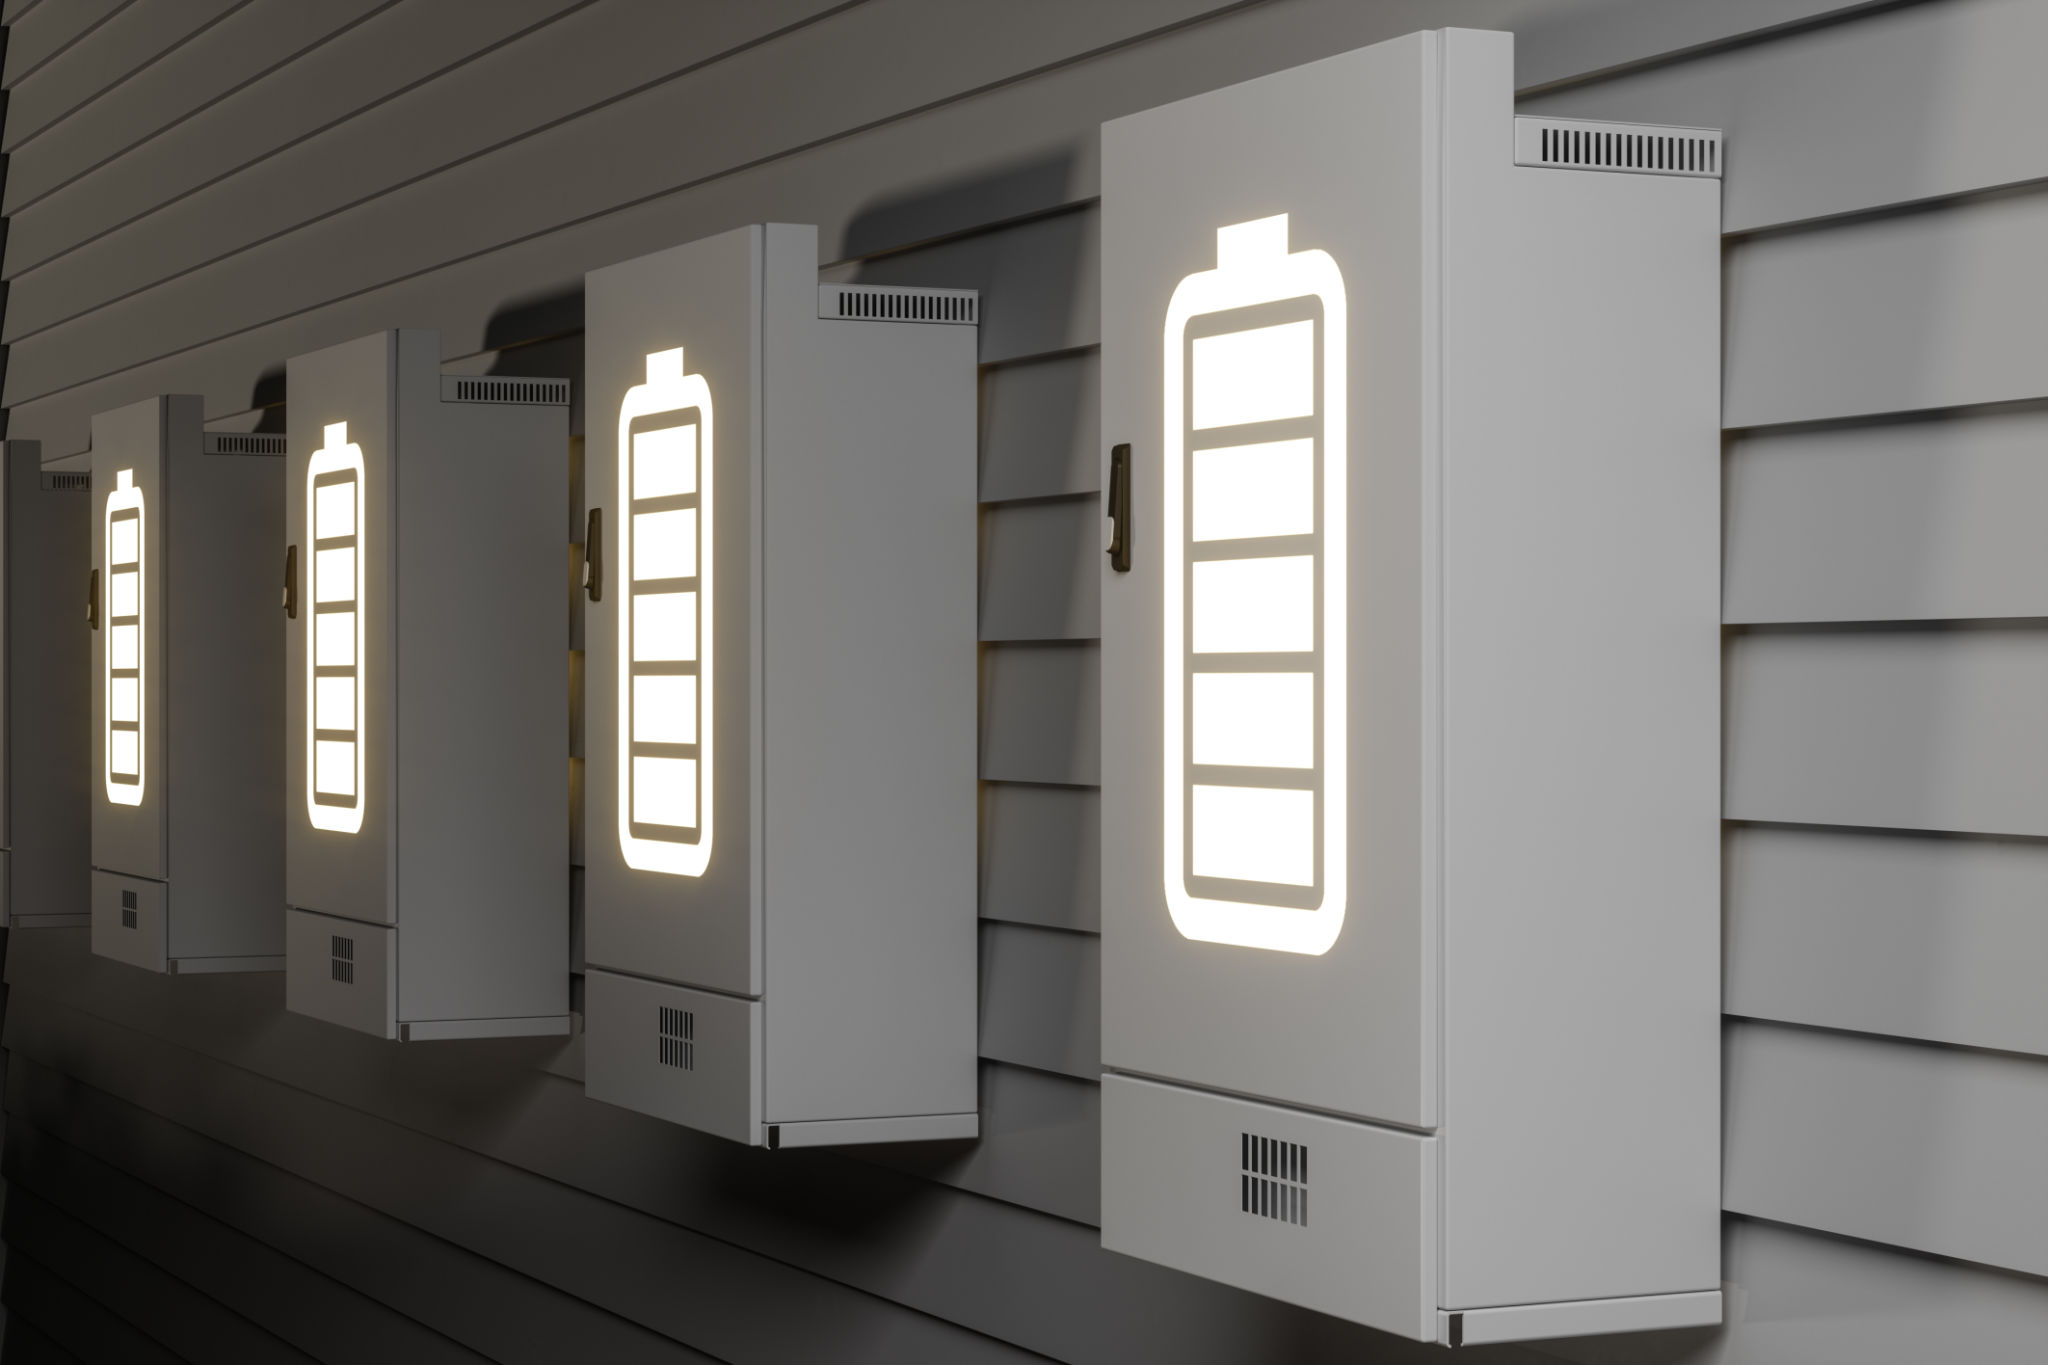
Before diving into the installation process, it's essential to familiarize yourself with the components of a solar panel system. These typically include solar panels, an inverter, mounting equipment, and a battery storage system. Knowing how each part functions will help you install the system correctly and safely.
Planning Your Solar Panel Installation
Proper planning is the cornerstone of a successful DIY solar panel installation. Start by assessing your energy needs and determining the size of the solar panel system required to meet those needs. Consider factors such as the average sunlight your location receives and the orientation of your roof.
Once you've established your energy requirements, proceed to select high-quality materials. Investing in reliable solar panels and components will ensure longevity and efficiency. Additionally, check local regulations and obtain any necessary permits before commencing with the installation.

Safety Measures for DIY Installation
Safety should be your top priority during any DIY project, especially when dealing with electrical systems. Ensure you have the right safety gear, including gloves, goggles, and a hard hat. It's also advisable to have a second person assist you, particularly when handling heavy panels.
Before starting the installation, switch off power to the area where you'll be working. This precaution prevents any accidental electrical shocks or mishaps. Always use a sturdy ladder and harness when working on rooftops to avoid falls.
Installing the Mounting System
The first step in the physical installation process is setting up the mounting system, which supports the solar panels on your roof. Follow the manufacturer's instructions carefully to secure the brackets firmly. Ensure that the angle and position maximize sunlight exposure throughout the day.
If you're unsure about this step, consulting with a professional might be beneficial. A small mistake in mounting can significantly affect the efficiency of your entire solar panel system.

Wiring and Connecting Your Solar Panels
Once your panels are mounted, the next phase is wiring them to your home's electrical system. This task requires precision and understanding of electrical circuits. Connect the panels using wires provided in your kit, ensuring each connection is secure and insulated.
The inverter plays a crucial role in converting the direct current (DC) produced by the panels into alternating current (AC) for household use. Position it in a well-ventilated area and follow the installation instructions closely to avoid overheating.
Testing and Monitoring Your System
After completing the installation, it's time to test your solar panel system. Double-check all connections and ensure that everything is securely fastened. Turn on the system and monitor its performance over a few days to confirm it's functioning efficiently.
Regular maintenance is vital for sustaining optimal performance. Clean your panels periodically and check for any potential issues with wiring or connections. Using monitoring software can help track energy production and consumption effectively.
With these DIY tips, you can install a solar panel system safely and efficiently, enjoying the benefits of renewable energy while contributing to a greener planet.